Honda NSR250 MC18 Rossi Test
HONDA NSR250 MC18 Rossi Test
September 2018
Text and photos by Paul Pearmain and Matt Patterson, © TYGA-Performance
The NSR250 has been a firm favorite for us at TYGA Performance and after building so many MC21 and MC28 project bikes, an MC18 TYGA bike is long overdue! In the early days, we considered the MC18 a bit of an ‘also ran’ when compared directly to the later models. The MC21 has the stronger chassis and gull arm swing arm, the MC28, the first mainstream bike to have a digital speedo and key card ignition. Next to them, the MC18 had dated styling and apart from a slight weight advantage, not much else to get excited about when compared to its younger siblings. However, not all NSR owners had the later models and every time we’d make a new product for the 1990s NSR250, we’d be asked when we’d make this or that for the MC18. It was only fair (and also good business) to turn our attention to the MC18 and in response to owners, we’ve eventually built up a respectable range of products. Having accomplished that, it then makes sense to put together a project bike to show how all the TYGA components can be installed with some other choice components to make a modern MC18.
This particular motorcycle, a 1989 R5K version, was sourced locally a couple of years ago and while appearing mostly stock and complete, it was in a somewhat sorry state. Unfortunately, we didn’t take any ‘before’ photos because it was bought to help us develop products and not specifically to showcase a rebuild. Anyway, as mentioned, it was worse for wear; wrong fasteners, worn tyres, pitted forks, chromed brackets, non standard hoses and cables, a worn and poor running engine, plastic welded bodywork etc. Actually, pretty normal for what you might expect for a 29 year old bike that has been used as a daily ride here in Thailand. The condition further deteriorated in our tenure when its first duty was to be the jig for making many of our TYGA Performance MC18 products.
Things were not so bad for exhaust routing and test mounting triple clamps, but when it comes to sitting in the composites shop for months at a time and having the GP-T bodywork treatment, then it really started looking in a sorry state. Every surface was thick with putty and fiberglass dust and it even had the odd drip of resin on forks and frame. So after its retirement from jig work, we felt guilty and sorry for this once noble machine. The best course of action was a complete strip down and a nut and bolt rebuild. Fortunately, many of the damaged and corroded parts would not be needed again so this made the restoration somewhat simpler. Once totally stripped down, a long shopping list of parts was compiled consisting of: new Honda parts, used Honda parts and, of course, TYGA components. New Honda parts were limited to engine rebuild components and air filter which we stock at TYGA and the front brake reservoir pot and brake and clutch levers which were ordered from Japan. Many parts we replated to keep costs down. Luckily, we have a stockpile of used NSR parts so sourcing things like autolube reservoirs, cables and solenoid rubbers was not too tricky and just took some rummaging around until we found some suitable replacements. The TYGA Performance shopping list was obviously quite extensive as this was the whole purpose of the build! (See below for details). I clicked merrily away at all and everything MC18 related on the TYGA Performance website until my cart was brimming full. Now all we had to do was to gather up the other special upgrade goodies such as forks and brakes and then we’d have everything to build our MC18 special.
It would be nice to report that after this things moved briskly and smoothly to assembly of the motorcycle you see on this page. Unfortunately, this was not the case. As with so many projects, it stalled due to lack of time. These days, production and product development take up more of our time at TYGA and, if I am honest, we are not so keen to be in the workshop until midnight every night like we would have been ten or 15 years ago. So the MC18 had to fit around more pressing jobs and family life and it has taken about a year to complete. Apart from the time scale being protracted, the build went otherwise reasonably smoothly. The biggest unexpected headache was the swing arm. It was quite badly scratched and required several sanding and scotchbrite sessions and even after a couple of days work, it still looked like it had been thrown in a cement mixer. In the end, we settled on a sanded linished finish which hides the remaining dings and scrapes and as can be seen in the photos, it now looks fresh and presentable.
The other headache was the engine and being in this game many years, we know to expect the unexpected and sure enough, no wonder the engine was down on power. It had one MC16 and one MC18 cylinder, (same same but different) and the crank was very tired with worn bearings thrust washers and leaking seals. Matt had some other used cranks for just such an occasion, and along with some new main and big end bearings, was able to mix and match components to make a very serviceable crank. Along with a comprehensive list of o rings and seals, he rebuilt the motor to near new spec.
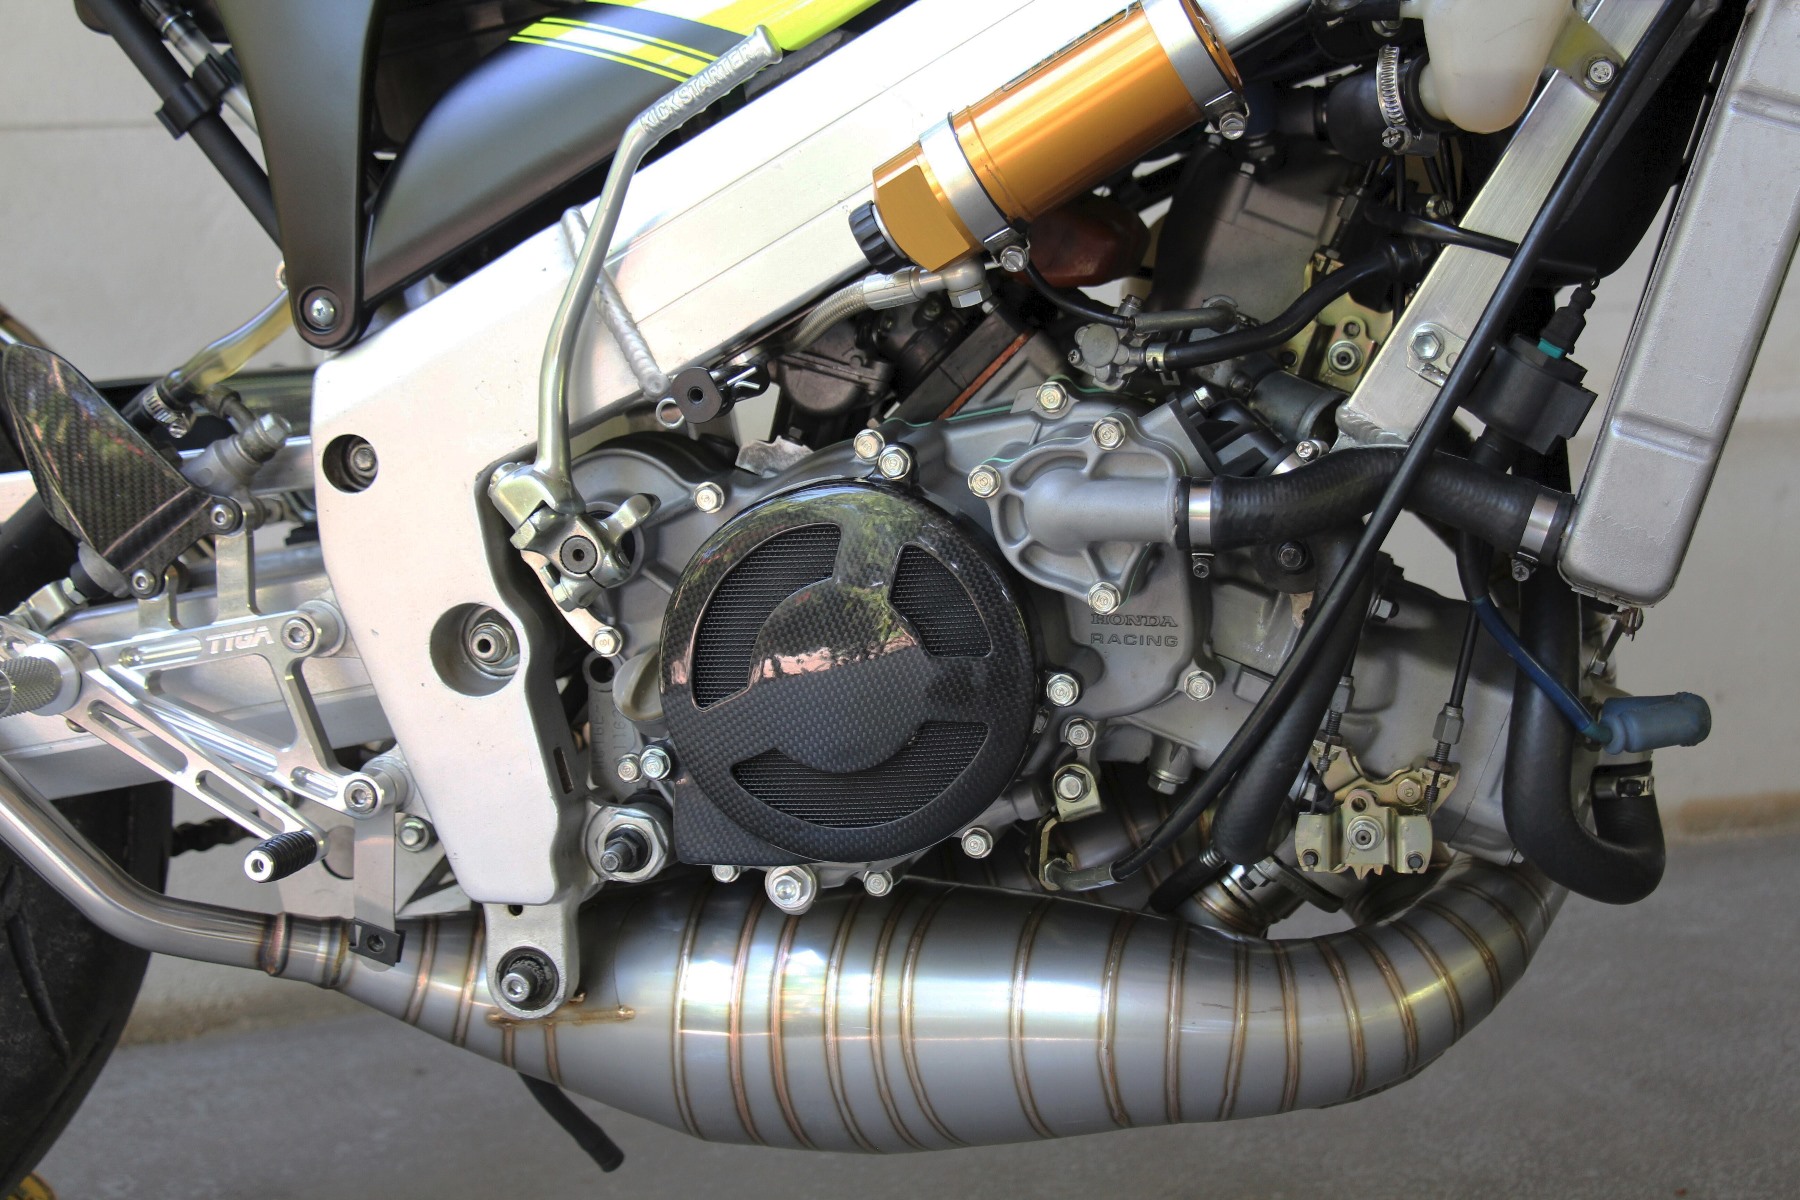
While the motor was apart, one of our boys at the factory, media blasted the cases and after the bolts had come back from the platers, we could rebuild it looking as fresh on the outside as it was on the inside. One pleasant feature of this particular motor was that it had been fitted with a dry clutch from an MC21. We naturally retained it and installed carbon clutch and sprocket/generator covers to give it the fresh TYGA treatment. Engine mounts were worn well beyond their service limit and this along with the torque arm accounted for the clunky gear changes we had felt when riding it after its initial purchase. Matt delved into his ‘secret special stash of HRC part’ ( nobody knows where this is located) (And I’m not telling! – Matt) and produced some F3 engine mounts which really solidly hold the motor in place. We also found a better condition torque arm as it had got very sloppy with age. We kept the stock carburetors and air box but obviously used our TYGA air box lid for improved flow along with a new Honda filter. We also retained the autolube system for ease of refueling out on the open road.
The chassis was given uprated suspension front and rear. At the rear, we have installed a prototype MC18 Ohlins rear shock which at the moment is the only one in existence. We and Ohlins have plans to make a rear shock that will be compatible for the MC18 so please let us know if you are interested.
At the front end, we installed a TYGA triple clamp to accept the 2005 CBR600RR forks and CBR1000RR billet calipers which were found on eBay. We also sourced a pair of RC45 rotors to allow us to use the front wheel from the MC18 with the upgraded front end. Special bushes were made for the front wheel shaft and a CBR600RR front fender installed with custom brackets to lower it to suit the smaller front tyre. The master cylinder was kept stock so it is a conventional 14mm Nissin and we linked this up to the calipers with custom made HEL brake lines. What with the oversize rotors and superbike calipers, braking performance for the lightweight 250 two stroke is overkill. The rear wheel is an MC21 4.50 x 17 which allows us to use modern rubber (Metzler M5 Sportecs which give plenty of grip) To compensate for the lower radius of the rear wheel compared to the stock 18 incher, the ride height was adjusted on the Ohlins rear shock.
The chassis was also lightened somewhat by use of the aluminium GP-T subframe. I am not sure of the weight saving but I would wager that is not less than 2 kg over the heavy two seat stock Honda subframe. Other components of note were TYGA 48mm handlebars which were carefully set up to clear the stock instruments. One trick to avoid hitting the clutch adjuster on the speedo at full steering lock was to turn the speedo mounting rubbers round so the speedo is about 5-6 mm further forward. The other helpful thing was the variable position steering stoppers on the TYGA triple clamps which were set at the medium position. This still gives ample movement but also give plenty of clearance with the instruments, upper stay and the fuel tank.
Not surprisingly, a TYGA step kit was installed. This not only freshens up the bike, it allows for better ground clearance when fully leant over. The ergonomics are still spacious, in fact more so than stock, due to the raised seat height which more than compensates for the higher foot peg position. As this is a primarily street bike, a street gear shift pattern was chosen.
Looking at other features under the skin, you can see that we installed the TYGA MC18 exhaust system.
This not only improves performance, but reduces weight to a mere fraction of the stock system and on looks alone would be a good enough reason to install them! The MC18 requires a particularly curvaceous routing and countless cones to fit within the confines of the fairing. It is just a shame, that the chambers are covered up; maybe some transparent fairing lowers should be on our product development list… Anyway, with the help of photoshop, you can see how they sit.
As well as exhaust and air box mods, this bike has had the (as always recommended) O/Bu to 12V wire splice carried out and the whole package then was carefully set up by Matt to give strong and smooth delivery from low down to the redline. A 300 big bore kit was deliberately not chosen for budgetary reasons though this of course would improve power further. For us, we were content with a solid 60 horsepower… for now. (Note the DoohanOK project bike has now been given the 300cc treatment!).
Now on to the fairing bits. Probably the main impetus in building this bike was to showcase our MC18 GP-T bodywork kit. In plain white primer, it really doesn’t do it justice and we didn’t want to rely on customer bikes to advertise our latest fairing design. That said, by the time we had this bike ready, there have been several stunning examples including a Rothmans build, that you can see on our facebook page and other places on the Internet.
That brings me to the next thing, the paintwork. The Iconic Rossi test bike colours from 2001 are really stunning and a credit to Aldo Drudi and the Rossi Team. To think they did all this just for a mere test and not ever raced with it, just shows their attention to detail.
This scheme has really stood the test of time well and looks as fresh and bold as it did back then in 2001 when our bike was not even a teenager. It is perhaps fitting that our particular machine should pay tribute to the rider who was the last two stroke motorcycle champion to win the premier class and the fact that his bike had an NSR logo on its flank makes it all the more poignant. The paint work was not the easiest to reproduce though and was another reason for the delays. Searching on the Internet produced very few photos of the real bike and most images on google are either of the video game version or the Mini Champ model. It was hard to find close ups of the unique windscreen graphics. The normal ‘the doctor’ would not do for this project, we wanted the real thing. In desperation, Pieter contacted Mini Champs and they were kind enough to send us the artwork. The cartoon on the nose of the fairing was also provided by the miniature model company.
Our painter, K Pong, was as patient as ever and was very supportive in getting the proportions and positions of all the graphics correct. Like a good tailor, it took several fittings to get everything just right and, I think you’ll agree, he did a top job. One thing you might be wondering about is the exact shade of colour. Well, it depends on lighting in real life and the device you use when viewing the images on line. It is a florescent yellow/green. On mobile devices, it tends to come out more green due to the vivid settings being turned up automatically a few points on phones. On a desk top, it is a more yellow hue, but however you look at it, it is really loud! (I suffered temporary blindness the first time I saw it! – Matt).
Bodywork and fuel tank installation was mostly straight forward. We had trial fitted the kit prior to painting which is what we always recommend our customers do. All the mounts were installed waiting patiently for the panels to come back from paint and this made things very easy and the whole bike was re-clothed within a couple of hours. There was one small issue concerning the fuel tank. We didn’t seem to have a decent condition plastic tap that was correct for the MC18. Luckily, the 3D printer came to our rescue once again. A design was quickly drawn up of the exact length we wanted, and within a couple of hours we’d fixed the issue. Of course the tap itself developed a leak between first trial installation of the plain unpainted version to when it was finally fitted after paint. Not to be defeated, Matt drilled out the rivets, flatted the surface down a fraction of a mm. where the o ring is installed, and reassembled using M4 bolts. No more leak and the bike was finally complete.
You might have noticed that the bike is devoid of a lot of street gear. Yes, it has a horn, headlight, brake and taillight but it is also missing turn signals and mirrors. It is shown with no registration holder either, though these components are all supplied with our body kits and can be installed if required. Our bike, I suspect will get little street use and we didn’t want to detract from the lines and graphics.
So how is it like to ride? Well, it just happened to be that the previous bike I had ridden the night before was the Rothmans 300 MC28 which is our highest spec NSR derived project bike. I was worried that I’d therefore be disappointed by the 250 MC18. Far from it, power low down was nearly as tractable and it was able to accelerate strongly to the red line. Gearbox was smooth with the new engine mounts and torque arm installed and the geometry allowed for easy changes of direction. What was actually better than the MC28 was the ergonomics which worked great for a larger rider like me. The MC18 now has plenty of room and I could really notice the narrower fuel tank than the MC28 and it felt slightly lighter weight too (no heavy pro arm). It certainly was confidence inspiring and for a first shakedown had no real niggles. Well, except for some dust in the rev counter and a broken bulb in the temperature gauge which I only noticed after dark. The components work in harmony and bring the MC18 bang up to date. Riding this bike made me grateful to Matt and the staff and for everyone else who were directly involved in this project. It also made me grateful to the MC18 owners who had pushed us in the first place. Without their input, we’d probably have never owned an MC18, let alone built this project. So, everybody, thanks for the ride!
Matt's Riding Impressions:
Paul had given the bike the thumbs up in pretty much every department, which usually means that there’s not much wrong as Paul is very critical. The first thing I noticed was the ‘sporty’ riding position. The bars are further forward than stock, and although I could just feel it on my wrists at walking pace, once on the move this position (along with the new seat position and TYGA steps) makes total sense. The gearbox has a bit of a clunk going into first, but once into second and clicking up through the ‘box, it was surprisingly smooth. There’s ample bottom and mid-range to pull you out of most situations, but the fun starts at around 8 grand. Once on the pipe and turned up to full volume, this 29 year old beast would certainly show a clean pair of heels to all of the current 250/300 four strokes. So as expected after a full rebuild, nothing wrong in the engine department.
The MC18 rolling chassis was (like all NSRs) inspired by the 250GP bikes of its era, so it’s typically nimble while flip-flopping through the traffic. The Ohlins rear shock gives a firm, yet forgiving feel. We’ll do some track testing later, but I’m guessing that it’ll need a click or two to get it track ready. The CBR600/1000 front end is a good match. Firm, but soaks up the bumps nicely. The brakes are definitely overkill, but I can’t see any reason to complain about that.
The bodywork and colour scheme is just way too ‘in your face’ for a stealthy ride down to the chip shop. No chance of NOT being noticed. I’m not sure what is louder, the exhausts at full chat or the paint job!
All in all, a successful transformation. It’s never easy to take an excellent bike and make it better, but I think that we’ve achieved it in all areas. Job done.
TYGA-Performance products used:
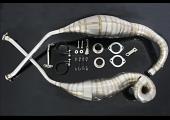
Set, Exhaust Chamber, Side By Side Type, Stainless Steel, NSR250 MC18
Set, Exhaust Chamber, Side By Side Type, Stainless Steel, NSR250 MC18 Tyga Performance is probably the only company offering stainless…
- Model
- EXCS-0003
- Quantity
- 10

Silencer, Carbon, Two Stroke, Assy.
Silencer, Carbon, Two Stroke, Assy. This high quality lightweight (0.47 kg) silencer is made from CNC machined end caps joined by…
- Model
- EXSL-0003
- Quantity
- 100+
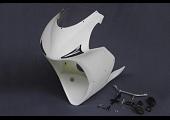
Kit, Fairing Set, GRP, Street, MC18, GP-T
Kit, Fairing Set, GRP, (Street), MC18, GP-T This modern fairing, designed in-house by TYGA Performance, is the culmination of 15…
- Model
- BPFS-0157
- Quantity
- 1
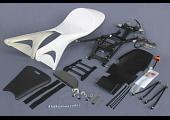
Kit, Seat Set, GRP, Street, MC18 GP-T
Kit, Seat Set, GRP (Street), MC18 GP-T This set of bodywork is designed to replace the stock seat cowling…
- Model
- BPFS-0160
- Quantity
- 1

Race Air Box Lid, Carbon, MC16 MC18
Race Air Box Lid (Carbon) MC16, MC18 The stock air box is restricted by the size of the inlet…
- Model
- BPCX-9110
- Quantity
- 2
Clutch Cover, Carbon, NSR250 SE/SP, Assy.
Clutch Cover (Carbon) NSR250 SE/SP, Assy. Carbon cover to replace the nasty green plastic stock one on the NSR…
- Model
- BPCC-9006
- Quantity
- 4

Carbon Covers, Set, Instrument Surrounds
Carbon Covers, Set, Instrument Surrounds Theses covers fit snuggly over the original plastic Honda gauge covers and adds a…
- Model
- BPCC-0027
- Quantity
- 1
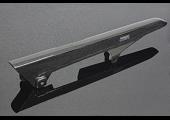
Chain Guard, Carbon, Stock Shape MC18
Chain Guard, Carbon, Stock Shape MC18 Carbon chain guard for NSR250 MC18 (1988-1989). Made to the same dimensions as…
- Model
- BPCX-7036
- Quantity
- 1
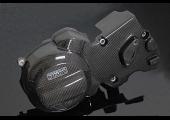
Generator/Sprocket Cover, Carbon, NSR250 SE/SP, Assy.
Generator/Sprocket Cover, Carbon, NSR250 SE/SP, Assy. Generator/Front Sprocket Cover NSR250 This lightweight carbon component will make your engine look like it belongs…
- Model
- BPCC-9106
- Quantity
- 4
Carbon Tank Filler Cap Cover Honda
Carbon Tank Filler Cap Cover Honda Carbon Tank Filler cap Cover. Fits most Honda sports bikes including: …
- Model
- BPCC-0002
- Quantity
- 5
Front Fender, GRP, 2007-16 CBR600RR
Front Fender (GRP), 2007-16 CBR600RR GRP direct replacement for OEM Honda item. Pre drilled for easy fitting.…
- Model
- BPFF-7206
- Quantity
- 3
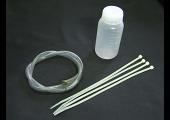
HRC Radiator Overflow Bottle Kit, Assy.
HRC Radiator Overflow Bottle Kit, Assy. Comprising HRC bottle, overflow tube and cable ties, this useful lightweight product is…
- Model
- BPAC-0002
- Quantity
- 19

Racing Step Kit, MC18
Racing Step Kit, MC18 TYGA Performance racing step kit assembly. Designed in-house by TYGA Performance using the latest CAD/CAM software,…
- Model
- STAA-0016
- Quantity
- 11
Heel Guard, Right Only, Carbon
Heel Guard, Right Only, Carbon Right side carbon fibre heel guard. It can be fitted to many other models, being suitable for…
- Model
- BPCC-9010R
- Quantity
- 100+
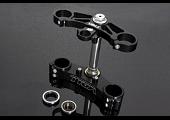
Triple Clamp Set, CNC Black, CBR600RR Forks to fit MC18
Triple Clamp Set, CNC Black, CBR600RR Forks to fit MC18 CNC machined TYGA lower triple clamp for the NSR250…
- Model
- TYLY-1245
- Quantity
- 2
Bolt, Bodywork Mounting, non-collared, M6, CBR
Bolt, Bodywork Mounting, non-collared, M6, CBR Bodywork mounting bolt, CBR125R, CBR150R, CBR250R, CBR300R. M6 X10 mm. No collar. OEM Honda…
- Model
- 90132-KPP-T00
- Quantity
- 100+
Handlebar Set, Racing, Black, 48 mm.
Handlebar Set, Racing, Black, 48 mm. Designed and machined in house from aircraft grade aluminium, suitable for: …
- Model
- TYLY-1012
- Quantity
- 10

Top Triple Clamp Nut (M24x1), TYGA
Top Triple Clamp Nut (M24x1), TYGA Top clamp nut machined from 7075 T6 aluminium. Light weight and good looking.…
- Model
- TYLY-0127
- Quantity
- 59
Brake Reservoir Cap, CNC, Black, Nissin
Brake Reservoir Cap, CNC, Black, Nissin This anodised CNC machined reservoir cap replaces the stock Nissin cap (Pt…
- Model
- TYLY-1049
- Quantity
- 4
Front Brake Reservoir Stay, NSR250, Carbon
Front Brake Reservoir Stay, NSR250, (Carbon) Replacement for tired the stock front brake reservoir stay. This trick carbon stay…
- Model
- BPCC-9015
- Quantity
- 1
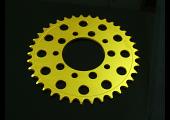
Sprocket, Rear 41T, #520, Stock, Aluminium, (Gold), MC18
Sprocket, Rear 41T, #520, Stock, Aluminium, (Gold), MC18 Upgrade your bike with TYGA Sprockets.
Designed and machined in house…
- Model
- TYSR-0104-41T
- Quantity
- 8
Dry Clutch Rebuild Kit MC21/28 SE/SP, Assy.
Dry Clutch Rebuild Kit MC21/28 SE/SP, Assy. For those dry clutch motors which have had some tuning work, sometimes…
- Model
- NHPS-0003
- Quantity
- 5
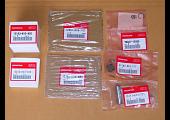
Top End Rebuild Kit MC18, Cyl. A, Assy.
Top End Rebuild Kit MC18, Cyl. A, Assy. Below is everything you need to do a top end rebuild on your…
- Model
- NHPS-0002A
- Quantity
- 10
Bearing, Countershaft, NSR250 MC18, MC21, MC28
Bearing, Countershaft Bearing, Countershaft, NSR250 MC18, MC21, MC28 This NSK bearing is a high quality, direct replacement for OEM bearing…
- Model
- TYPP-0006
- Quantity
- 19
Bearing, Mainshaft, NSR250 MC18, MC21, MC28
Bearing, Mainshaft, NSR250 MC18, MC21, MC28 This NSK bearing is a high quality, direct replacement for OEM bearing 91022-KV3-003.…
- Model
- TYPP-0008
- Quantity
- 8
Bearing, Mainshaft, Transmission Plate, NSR250 MC18, MC21, MC28
Bearing, Mainshaft, Transmission Plate, NSR250 MC18, MC21, MC28 This NSK bearing is a high quality, direct replacement for OEM…
- Model
- TYPP-0007
- Quantity
- 44

Engine Stand, NSR250
Engine Stand, NSR250 Engine stand for NSR250. No more chasing the engine around the bench as this stand allows…
- Model
- TYTO-0006
- Quantity
- 10
0 items


